Step-by-Step Guide: How to Use a Squat Rack Safely and Effectively
Understanding the Importance of Proper Squat Rack Usage
It is whereby one should properly handle the squat rack to avoid incidents and at the same time obtain the best out of the exercise. Understanding how to use a squat rack means you exercise correctly, thus minimizing the odds of incurring an injury. There are certain factors that need to be considered here: the correct height of the squat rack and the proper kind of rack squat form during the lifting of loads. Incorporating a squat rack to your exercise regime is beneficial in that you can easily train more in strength and avoid injuries in the process. Nevertheless, to ensure safety, it always takes time to learn how to use the squat rack.
Essential Takeaways:
- Safety First: Ensure your proper technique, equipment to avoid frequent injuries and the correct form to sustain your fitness program for quite an extended period.
- Technique Mastery: Learn about basic movements and the right positions during training to engage one’s core and use proper body mechanics to enhance muscular involvement and performance.
- Strategic Progression: Bring variations, accessories, and challenges into the process slowly and stress regularity, flexibility, and rational choices.
Why Safety Comes First
This is especially important for any gym equipment and most especially the squat rack, where safety should always come first. Learning how to use a squat rack safely minimizes the occurrence of mishaps and maximizes performance. It's crucial to adjust squat rack height to your body and lifting style, as incorrect adjustments can lead to strain or injury. Ensuring you adhere to the correct form when using the squat rack is about preventing early injury to your joints and achieving optimal returns on your strength. Here are proactive measures to always consider to maximize your gains out of the training while reducing dangers.
Safety ensures that:
-
Muscles and joints stay intact, and you maintain steady progress.
- You build up a positive relationship between your body and the workout regimen to reduce the lifetime effects of injuries.
- You establish trust, which is crucial if you’re to extend your reach as a risk-taking endeavour.
Common Injuries and Their Causes
Knee Strains: Due to misplacement or high pressure on the knee, most of the time the knee strains have the effect of restricting movement and can last for several days.
Lower Back Pain: The fallout from weak form and a lack of focus on core activation or any kind of lifting that stresses the back means lower back pain will keep you benched for good.
Shoulder Issues: This is because if you place the barbell in the wrong position or use the wrong grip, your shoulders will be stretched and you will end up with limited flexibility, not to mention that your form is also compromised.
Benefits of Correct Technique
Training one’s ego on a squat rack is a lot more complex than just style familiarity–the goal is to optimize that rack to fashion a fitter you. Technique is not just a luxury; it’s a big deal.
Embracing proper technique:
Maximizes Muscle Engagement: When you exercise specifically and effectively, you are actually encouraging the desired muscle development in growth, strength and entirely endurance.
Enhances Performance: Muscle memory or strength pertains to a hard surface that one develops and thus is able to support higher loads and overcome new tasks.
Mitigates Risks: This way, you avoid the cases of getting injured and, consequently, make consistent progress in your fitness regime.
Indeed, the advantages of perfecting the proper method extend beyond the doors of the fitness centre, affecting every aspect of one’s life and enjoyment of physical activity.
Preparing Your Squat Rack for Action
However, to begin with, there are several things you need to check while handling the bar for a squat rack workout. It is like staging something in some manner; how well it is done determines how well it will run.
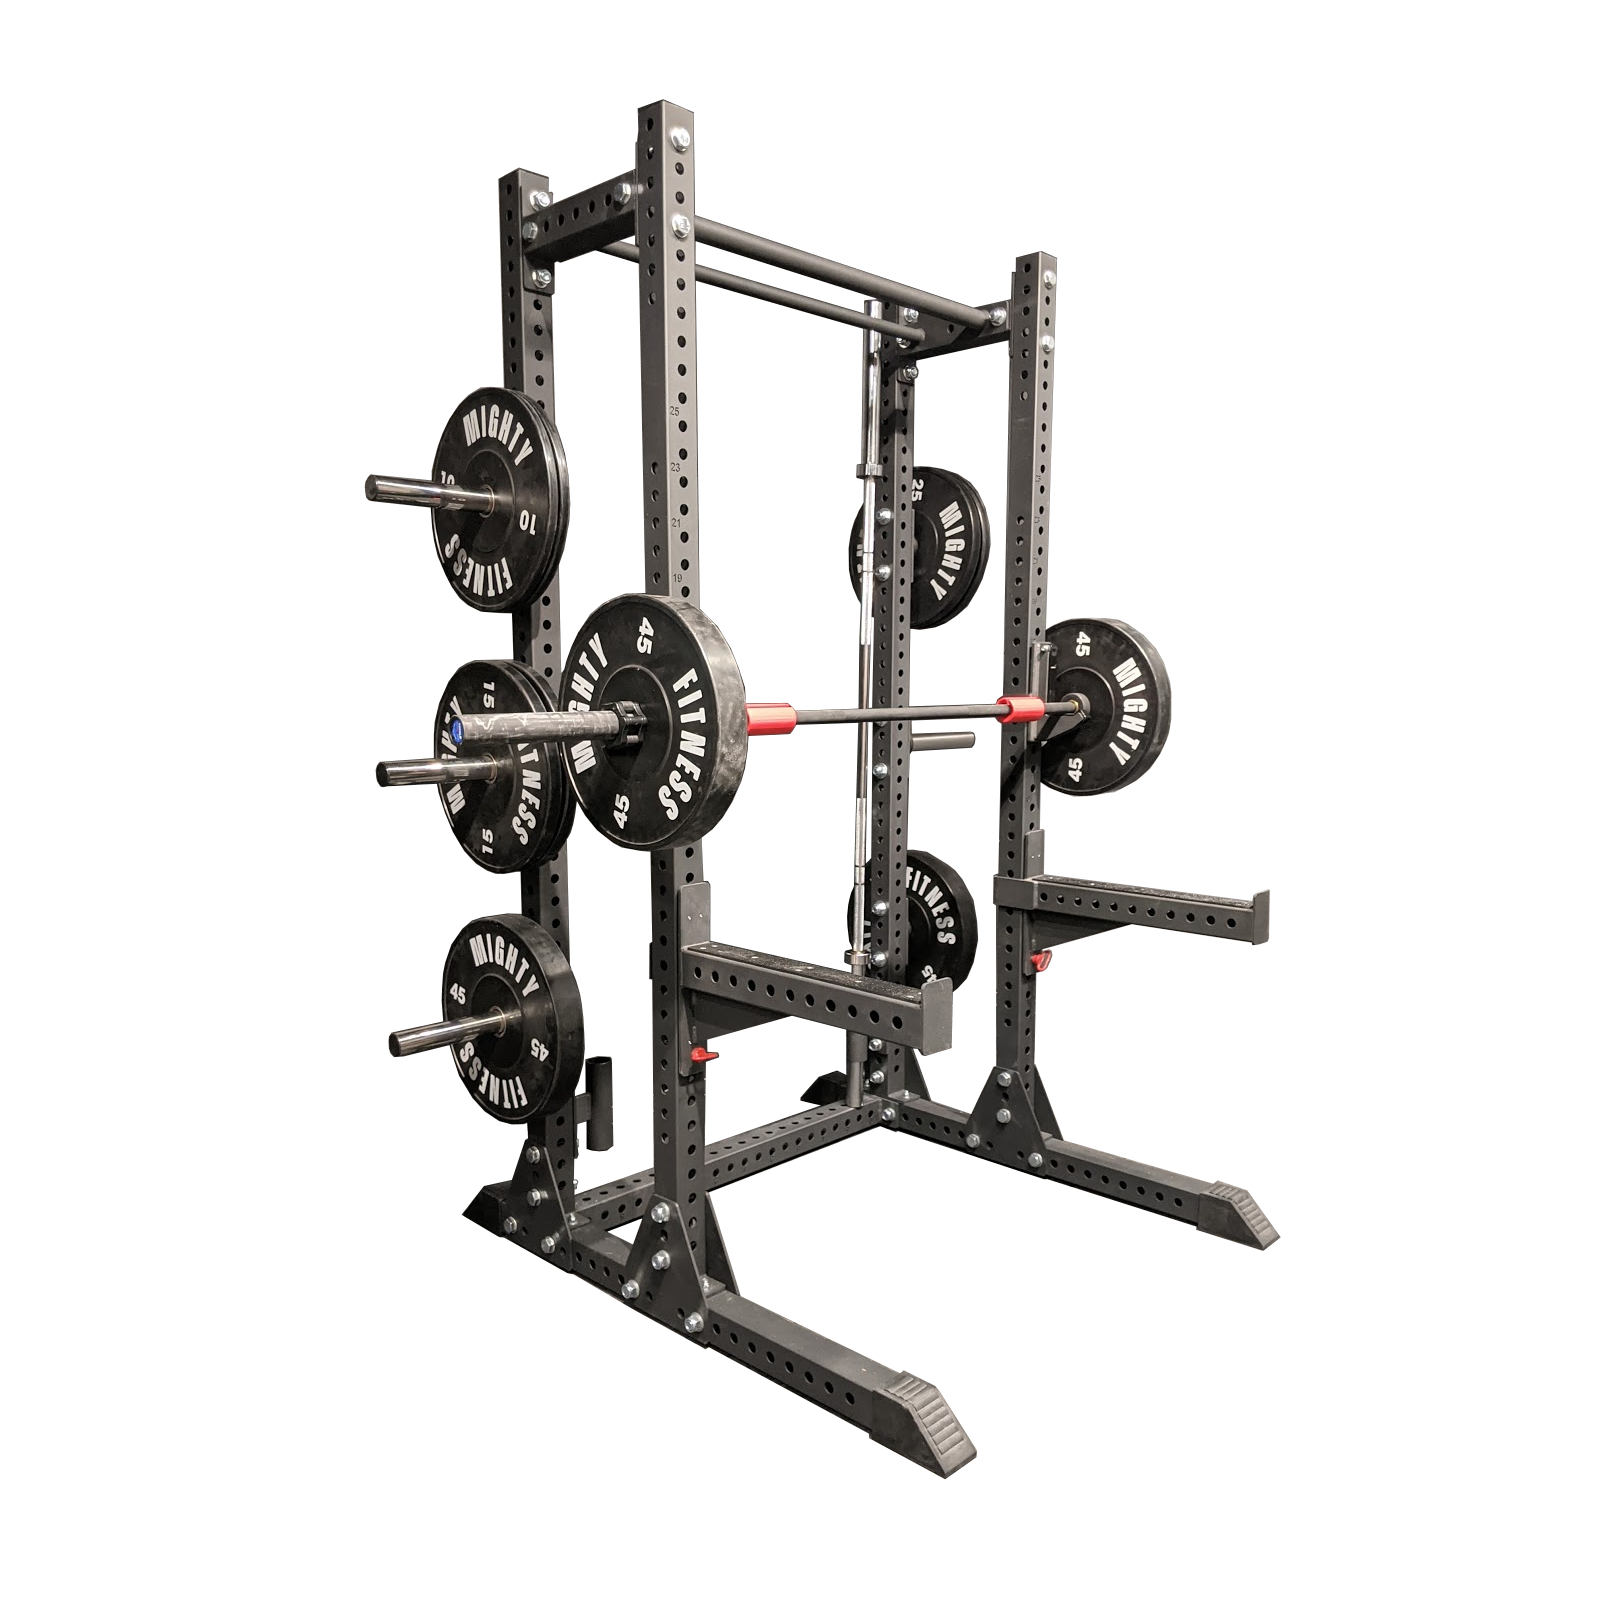
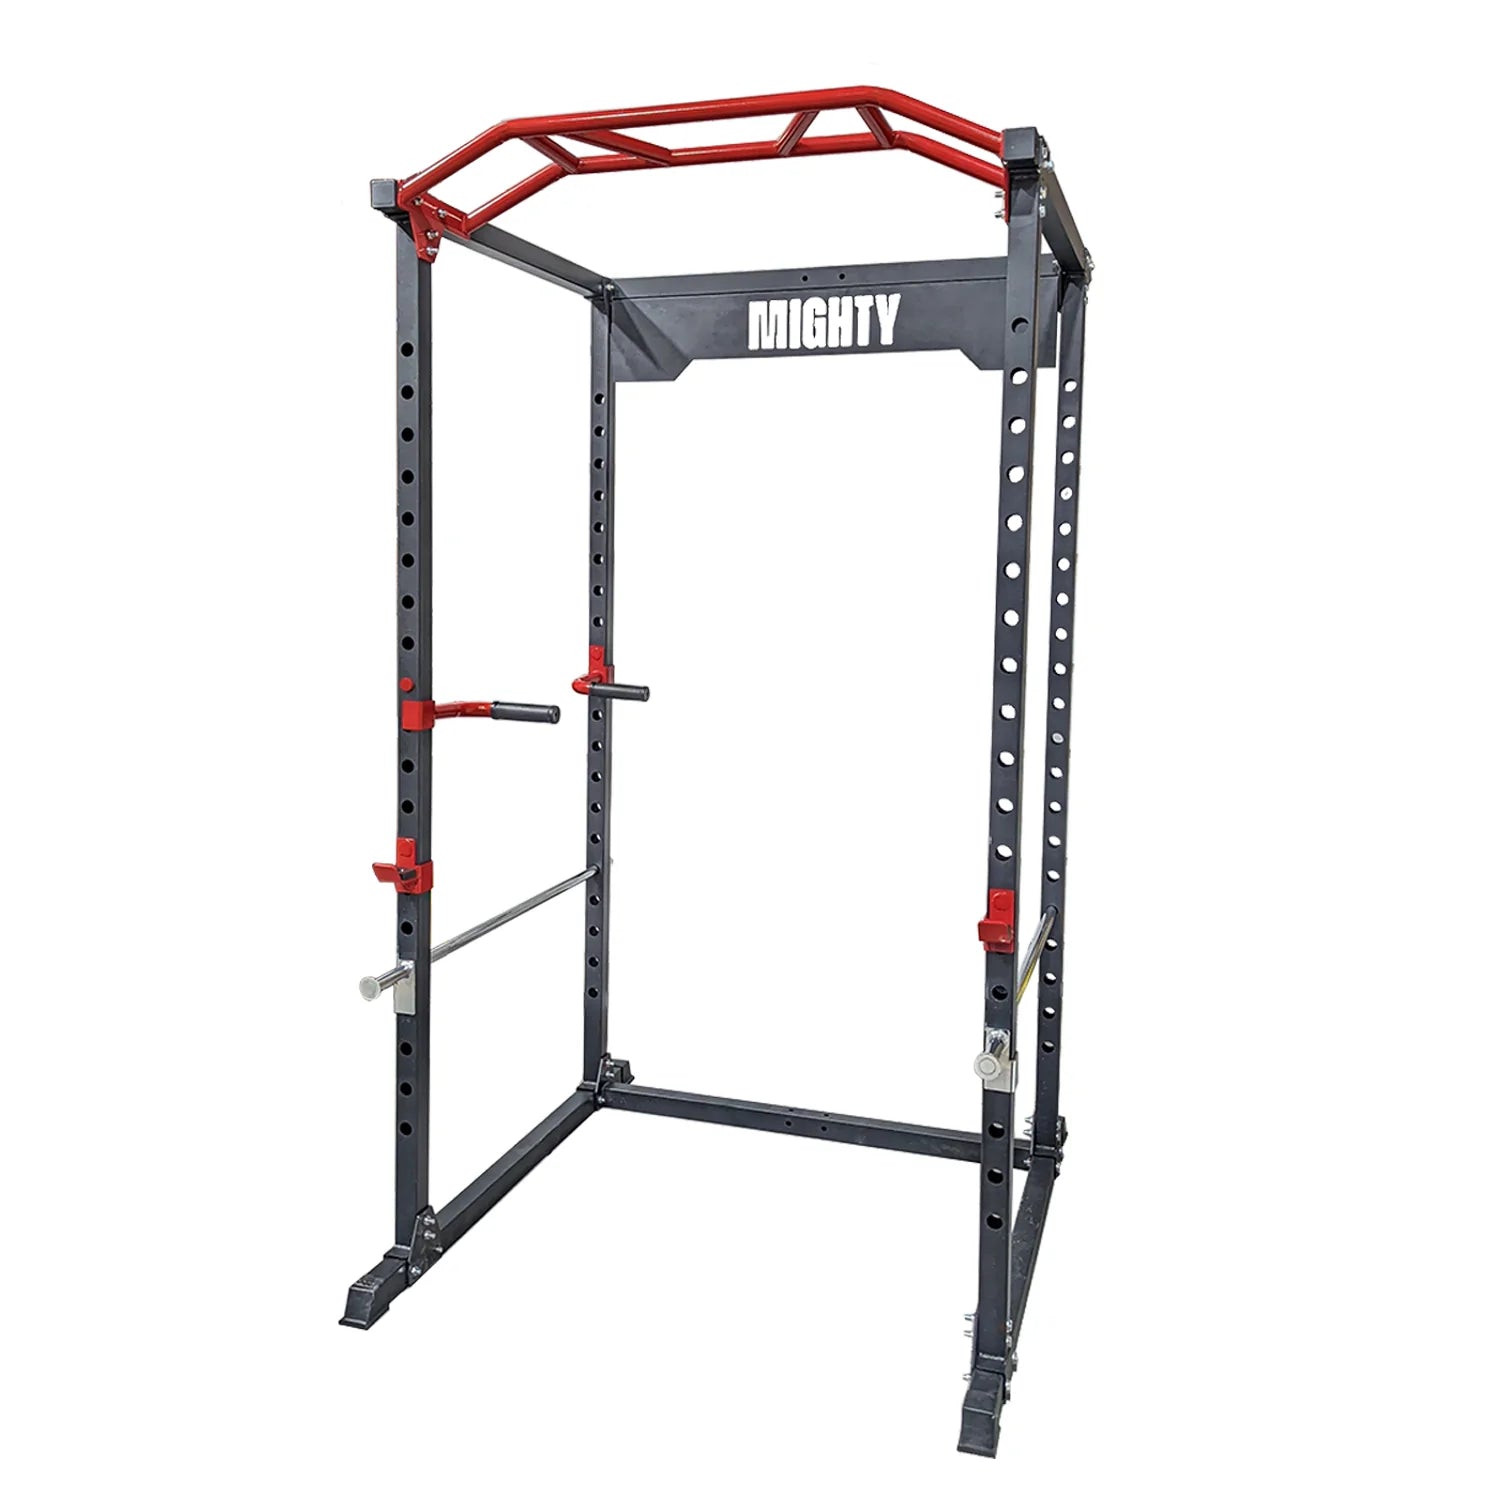
Choosing the Right Squat Rack
Squat rack selection is best compared to partner choosing for your fitness and exercise routines as well. However, it goes beyond the physical appearance to the ergonomics, safeguarding your health, and suitability to your workouts.
Here's what to consider:
- Versatility: Choose those that have multiple positions, a feature that will allow it to accommodate different exercises and users.
- Durability: Choose a durable frame that will offer lasting use and be resistant to wear and tear during the most stressful performances.
- Safety Features: There should be safety pins, spotter arms and sturdy barbell holders, especially as a way of enhancing safety in case of an accident.
Features to Look For
As you physically look at the numerous squat racks in the market, these characteristics set out the best ones from the rest. Familiarizing yourself with these attributes puts you in a position to make the best decision depending on your needs, most preferably one that will satisfy your needs.
Key features include:
- Adjustable Heights: Allows for numerous exercise modifications and adapts easily to more and shorter users.
- Stable Base: Stability makes certain that the rack will not move excessively during workouts, sway or tip over.
- User-Friendly Design: Appearance should reflect correct and clear configurations that make various changes as well as exercise transitions and the general usage is quite easy.
Setting Up Your Workout Space
Apart from handling the squat equipment, the kind of environment that a person chooses to work in goes a long way in determining the results of a workout session.
Considerations for setting up include:
- Accessibility: Place your squat rack in an open area because the equipment requires a lot of space and movement for exercise.
- Visibility: This also includes proper lighting during the course of the exercise to help avoid or minimize instances when an individual takes improper form as a result of bad light.
- Accessibility to Equipment: Organize the less frequently used equipment, such as the weights, the resistance bands and the mats, in a manner that you can easily reach out for them in between your vigorous workout sessions.
Proper Flooring and a Clear Area
Immediately, the reader should understand that the squat rack is not just an isolated piece of equipment; the surrounding environment matters too.
Prioritize:
Shock-Absorbent Flooring: Choose gymnasium-specific floors or exercise mats that provide support to athletes and reduce injury to joints and the general wear of equipment.
Clearance Space: Keep a five-meter circle around the squat rack to accommodate bar length, exercise and users’ movements.
Organization: Tidy up your workout area so as to eliminate any sources of distraction possible; make it easier to realize quick changes in between sets.
Mastering the Fundamental Squat Rack Movements
So, it takes more than the squat rack to start and successfully build on the idea as a new way to work out. It requires terminological sophistication and control of the basic movements that are incorporated into this potent workout regimen. Now allow us to look at crucial elements that make it possible to have a good squatting.
Key Warm-Up Components:
- Cardiovascular Activation: Begin with light aerobic exercises like brisk walking, jogging, or cycling to elevate heart rate and stimulate blood flow.
- Joint Mobilization: Incorporate gentle movements that target major joints-ankles, knees, hips, and shoulders—to improve range of motion and reduce stiffness.
- Dynamic Movements: Introduce dynamic stretches and movements that mimic squatting motions, preparing your body for the exercises ahead.
Dynamic Stretches for Squatting
As you transition from your general warm-up, integrating dynamic stretches tailored for squatting amplifies your readiness and optimizes performance.
Effective Dynamic Stretches:
- Leg Swings: Using low limbering, perform side-to-side and back and forward leg movements to mobilize the hips and develop the leg muscles.
- Hip Circles: Add circular hips to enhance flexibility, reduce the density of the bones’ joints, and activate the core muscles.
- Torso Twists: Implement torso rotations to prepare the spinal region for action, engage and stabilize the abdominal area, and improve the movements of the shoulder girdle.
Key Postural Elements:
- Neutral Spine: Stay as upright as possible throughout it, and do not exaggerate the curves in your lower back.
- Engaged Core: Engage your abdominal muscles to keep your spine from moving, improving balance and the ability to generate lots of power.
- Elevated Chest: Tuck in your chest and hold your shoulders back in order to achieve good posture, easier correct breathing and correct stance.
Foot Placement and Alignment
The positioning of your feet serves as the anchor for your squatting movement. Achieving the right alignment maximizes muscle engagement, balance, and overall effectiveness.
Optimal Foot Placement:
- Hip-Width Stance: Position your feet shoulder-width apart to maintain stability, engage major muscle groups, and optimize power generation.
- Toes Angle: Slightly angle your toes outward, typically between 5 to 30 degrees, to promote natural hip rotation, enhance flexibility, and reduce knee strain.
- Weight Distribution: Ensure even weight distribution across both feet, emphasizing the heels, to maintain balance, reduce pressure on the knees, and maximize muscle engagement.
Hand and Barbell Grip
While your lower body commands attention during squatting, the positioning and grip of your hands play a pivotal role in maintaining stability, controlling the barbell, and optimizing performance.
Key Grip Considerations:
Overhand Grip: Take a wider grip with your hands adopting an overhand grip where the barbell lays across your upper back and shoulders for clear support.
Thumb Placement: Anchor your thumbs firmly in a position adjacent to the fingers or, better yet, wrap the bar to add stability and control during barbell chunk movement.
Grip Tightness: This should be a moderately tight grip that has just enough pressure on the barbell to ensure it is controlled down and up again.
Top Performance Outcomes from Nailing the Techniques
Obtaining outstanding performance with the squat rack isn’t all about lifting the weights; it is about getting it right. It is as if every movement within a particular exercise extends muscle activation, improves stability and takes you nearer your fitness objectives. Now, let’s take a closer look at the special staking points that can turn your squatting into exemplary.
Initiation and Descent
The initiation phase sets the tone for your squatting journey. A smooth and controlled descent not only targets the right muscle groups but also establishes the foundation for a successful squat.
Essential Steps:
- Hip Hinge: Start the move by retracting your hip back while forming a very small knee bend to ensure that you are standing on your heels.
- Gradual Descent: Control the lowering process while keeping your feet shoulder-width apart; your knees should align to your toes; your spines should be straight; and your abs should be tightened during this process.
Controlled Movement and Breathing
As you navigate the squatting motion, integrating controlled movements and synchronized breathing optimizes performance and promotes endurance.
Breathing Technique:
- Inhale: Breathe in as you begin your descent; this ensures that you have expanded your lungs together with your core muscles.
- Exhale: Breathe out actively as you go up and apply your breath to push or pull as well as enable the exchange of air in your abdominal area.
Depth and Range of Motion
Achieving the optimal depth and range of motion transcends aesthetic appeal—it's about maximizing muscle engagement, flexibility, and functional strength.
Depth Guidelines:
- Parallel Depth: Aim to lower your body until your thighs are parallel to the ground, ensuring optimal engagement of major muscle groups.
- Individual Limitations: Respect your body's limitations, gradually increasing depth as flexibility, strength, and comfort allow.
The Ascent and Lockout
The ascent phase capitalizes on the stored energy from the descent, driving powerfully through your legs, hips, and core to achieve a full extension.
Key Techniques:
- Explosive Ascent: Push off the ground by extending your knees until your feet leave the floor, turn them slightly outwards through your heels and ensure that your quads, hamstrings, and glutes are well used when rising up.
- Full Extension: Make sure to lock the hips at the top position when doing this exercise and make sure all the weight is resting only on the glutes with your abs tightened to avoid sway.
Driving Through the Heels
Emphasizing heel drive revolutionizes your squatting technique, enhancing stability, power generation, and muscle engagement.
Technique Tips:
- Weight Distribution: It is ideal to place your weight on the heels when performing the movement while oversimplifying your toes and recruiting deep posterior muscles.
- Ankle Stability: Make sure your pendulum is anchored firmly in the water by your ankles and then just sit back and enjoy a powerful driving of rear heels and efficient biomechanics.
Maintaining Core Stability
Core stability serves as the linchpin of successful squatting, providing a solid foundation, enhancing balance, and mitigating injury risks.
Core Engagement Strategies:
Bracing Technique: Give great focus to the bracing part of the movement, engage your stomach muscles and maintain pressure within your abdomen.
Spinal Alignment: Maintain a primary curve, do not overextend or flex at the lumbar region and use your abdomen to keep a rigid centre, maintain a good posture and aid you in transferring the forces with ease.
Preventing Failures and Being Safe
As with any fitness equipment, the squat rack guarantees the change while performing this exercise requires attention, orientation, and risk awareness. With such challenges paid attention to in advance, as well as safety as the topmost priority, you set the ball rolling towards a fulfilling and especially safe squatting session.
Overcoming Common Challenges
Embarking on your squatting journey inevitably presents challenges that may deter progress or compromise form. Recognizing and addressing these hurdles empowers you to navigate your fitness regimen with confidence.
Common Challenges:
- Balance Issues: Stability issues or bear imbalance can thus be a problem and lower performance and also pose higher risks to the athletes.
- Inconsistent Technique: Changes in design or format or even the timing of delivery can reduce efficiency and even stagnate results.
- Overtraining: Paying extra effort or lacking enough sleep makes you tired, slow at your work and more predisposed to getting injured.
Addressing Knee Valgus and Instability
Knee valgus and instability emerge as prevalent concerns in the realm of squatting, necessitating proactive strategies to mitigate risks and optimize performance.
Key Strategies:
Management of Back and Neck Pain
Like every movement, performing a squat also requires an immense focus on a body’s stress points, particularly regarding the back and the neckline on the rack.
Mitigation Strategies:
Pushing the Boundaries Safely
While the squat rack serves as a cornerstone of strength training, pushing boundaries necessitates a nuanced approach that balances ambition with safety. By integrating variations, accessories, and informed choices, you can elevate your routine while safeguarding against potential risks.
Incorporating Variations and Accessories
Diversifying your squatting routine with variations and accessories not only injects excitement but also targets different muscle groups, promotes functional strength, and breaks through plateaus.
Effective Strategies:
- Variation Integration: Add different variants of squats into training; use front squats, goblet squats, Bulgarian split squats, sumo squats, etc.
- Accessory Inclusion: To further develop dynamic resistance, proprioception and muscle activation, include multifaceted tools such as resistance bands, kettlebells, dumbbells, and stability balls.
Front Squats vs. Back Squats
Solving the riddle of choosing between front squats and back squats enables you to control the training process, deal with opportunities to leverage a certain advantage, and achieve certain fitness goals.
Comparative Analysis:
- Back Squats: Focuses on the backside muscles of the body; gluteal muscles, the hamstrings, and the lower back that are in support of most compound exercises while enhancing core support for lifting massive weight.
- Front Squats: Target the quadriceps, encourage an upright trunk posture, and test the clients’ ability to activate their core muscles in functional movements.
- Tailored Approach: Both should be used in training and it relies on an individual’s fitness goals, strengths, weaknesses and the extent of focus on particular muscles or performances.
Utilizing Belts and Wraps Effectively
While belts and wraps offer support and stability, their utilization demands informed choices, mindful integration, and a keen understanding of their impact on performance and safety.
Guidelines for Effective Use:
- Belt Considerations: Opt for a supportive, well-fitted weightlifting belt to enhance intra-abdominal pressure, stabilize the spine, and mitigate injury risks during heavy lifts.
- Wrap Application: Utilize knee wraps or wrist wraps judiciously, recognizing their role in providing compression, supporting joint stability, and promoting performance while ensuring adequate mobility and avoiding over-reliance.
- Mindful Integration: Integrate belts and wraps as supplementary tools, not crutches, emphasizing proper technique, progressive overload, and a holistic approach to strength development and injury prevention.
Wrapping Up and Taking Action
As you journey through the intricacies of utilizing a squat rack, it's essential to consolidate your newfound knowledge, formulate an actionable plan, and leverage resources to propel your fitness endeavours to new heights. Let's encapsulate your learnings and chart a path forward.
Recap of Key Points
Reflecting on your exploration of the squat rack, several pivotal insights emerge that underpin safe, effective, and rewarding practices.
Your Next Steps and Resources
Armed with foundational knowledge and actionable insights, the time has come to chart your next steps, harness resources, and cultivate a tailored approach to squat rack utilization.
Actionable Strategies:
- Structured Plan: Design a comprehensive workout plan, integrating squats strategically and considering frequency, intensity, volume, and recovery to optimize results.
- Resource Allocation: Invest in quality equipment, leverage reputable fitness apps, platforms, or journals to track progress, and foster accountability.
- Community Engagement: Join fitness communities, forums, or groups to exchange insights, seek guidance, and foster motivation, enhancing your squatting journey's richness and support network.
Recommended Reading and Videos
Expanding your knowledge base and refining your technique necessitates continuous learning, exploration, and exposure to diverse perspectives.
Resource Recommendations
- Educational Reads: Explore reputable fitness publications, articles, or books dedicated to squatting techniques, biomechanics, and strength training principles.
- Video Tutorials: Access instructional videos, expert demonstrations, or virtual workshops focusing on squat rack utilization, variations, and advanced techniques, fostering visual learning, and technique refinement.
Seeking Professional Guidance
Navigating the complexities of squat rack utilization, mastering technique nuances, and optimizing performance warrants professional guidance, mentorship, or expert insights.
Professional Pathways
Personal Training: Any individual experiencing problems or wanting to improve their biomechanics may seek the services of a certified personal trainer in strength training or squat rack use.
Physical Assessment: This indent recommends regular physical checkups, biomechanical tests or consultations with a physiotherapist or a sports medicine specialist to assess possible imbalances, joint limitations, and injury contingencies and to encourage preventive and performance-enhancing measures.
Still planning to start a new fitness journey with the squat rack? Do not forget that understanding the technique is as important as understanding power. These are some step-by-step procedures that can be incorporated into the practice, embrace safety, and then watch your results rise. If you read the last part, we hope this guide to finding the right fitness tracker is helpful. Do not hesitate to share it with other fitness lovers. Earlier this month, I promised to give you the most important tips only I have ever known when it comes to squatting – and you stayed strong and safe enough to get here and read this.